Installing Foundry’s Nuke
This guide was made for Nuke non-commercial, but should work for all versions of Nuke.
- Once logged in to your Foundry account, download the Linux version of Nuke.
- Accept the EULA, and download the .tgz file into a folder, i.e. Documents, /opt/, etc.
- Extract the .tgz file (Right Click > Extract > Extract here and delete archive).
- Run the .run file extracted (Right click > Open in Konsole).
- Scroll through the EULA, and then type
yto approve it. - Say
yto approve the subdirectory. - Open Menu Editor
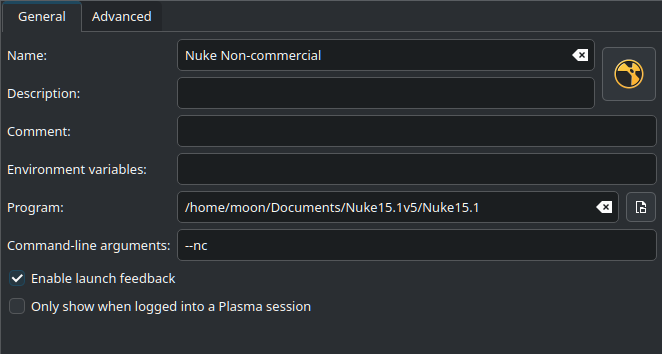
- Under the Graphics section, make a new menu entry named Nuke.
- The app icon can be found in NUKE_INSTALL_FOLDER/plugins/icons/NukeApp256.png
- Add the program executable to the Program section.
- Fill in any other entries as you see fit.
- Launch Nuke and set it up normally.
The Nuke executable always starts as normal Nuke. The following command arguments can be added for other modes:
--nukex
--studio
--nukeassist
--nc (non-commercial)
--indieOther command arguments can be found here.
Here’s what my final menu entry looked like for Nuke Non-commercial